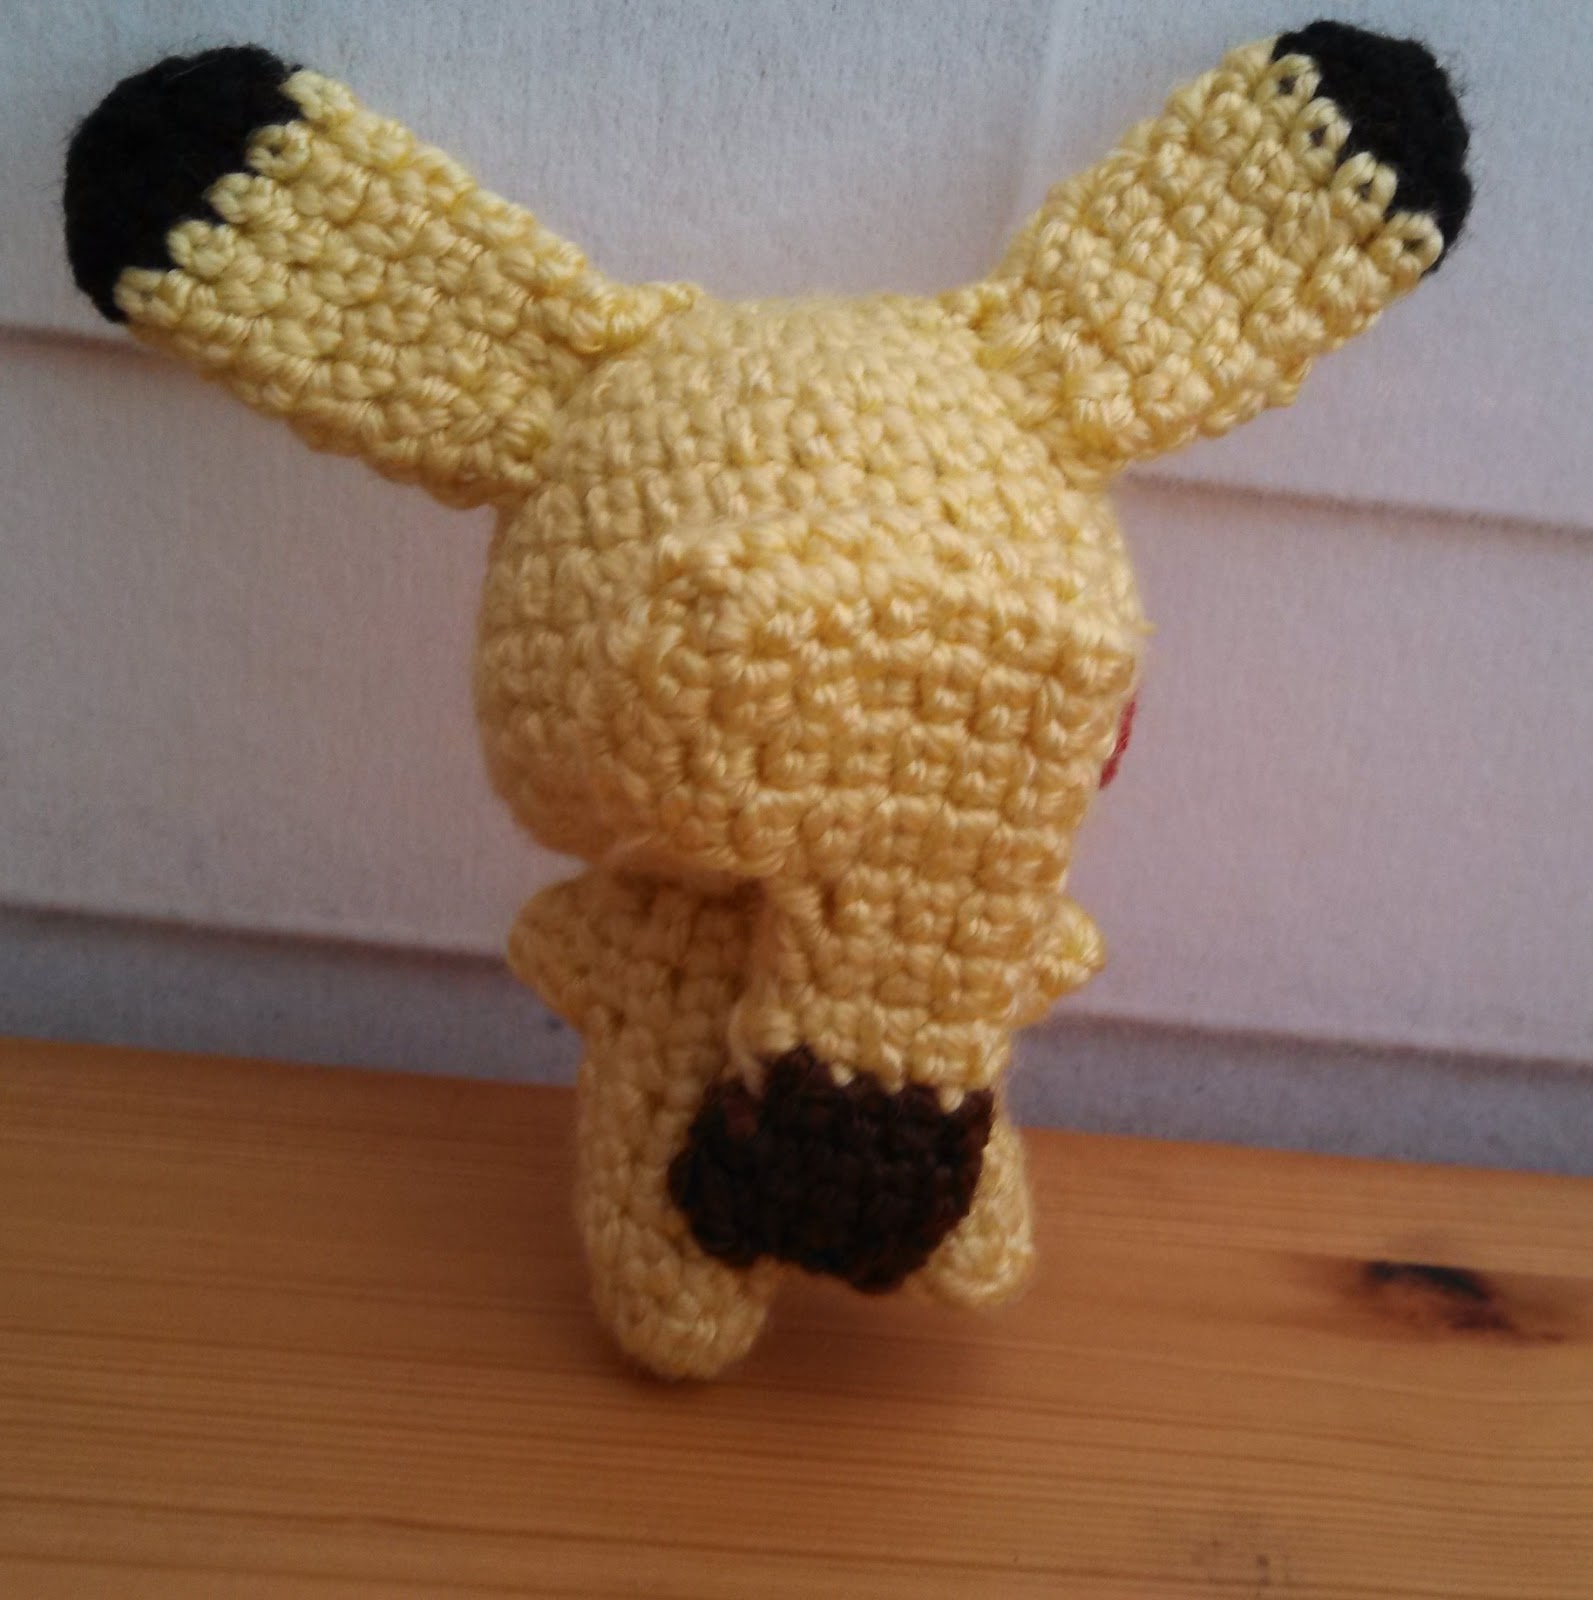
Oh my, it's been such a long time since I've really updated this blog... I really haven't crocheted many new things, but my etsy shop was consistently bringing in sales, so I had that. The shop exploded in December for Christmas orders, so that kept me busy along with my finals. Now that I'm on the last week of vacation, I finally got around to creating something new...Go figure.
 Frillish is a 5th gen Pokemon, and I fell in love with her when I saw one. They are too cute. I also have a weakness for Jellyfish just like I do with octopuses. I knew I had to create an amigurumi of one.
This was a lot of fun to create, and I decided to share the pattern with everyone :3 If you make one, be sure to share it with me!
Now for the pattern!
Frillish Amigurumi
Supplies:
*Pink
and White yarn [Whatever brand you choose! I don’t know what brand I used for
this piece. All I know is that it is thin baby yarn]
*Crochet hook [I used my F hook]
*PolyFil
*An embroidery
needle
*Safey eyes [or buttons]
*Small
amount of black floss or thin yarn
Head:
SC 6
in magic circle, SS to join circle
Row
1: IN in each SC [12 SC] SS to join circle
Row
2: SC in first SC, IN in second SC, repeat 5 more times [18 SC] SS to join
circle
Row
3: SC in first SC, SC in second SC, IN in third SC, repeat 5 more times [24 SC]
SS to join circle
Rows
4 – 7: SC around circle, [24 SC] SS to join circle [At this point, I suggest
adding the eyes, especially if you are using safety eyes! They do not need to
be on the 7th row, just where ever you feel like it :3]
Row
8: SC in first SC, SC in second SC, Decrease, repeat 5 times [18 SC] SS to join
circle
Row 9: SC in first SC, Decrease, repeat 5 times [12 SC] SS to join circle
Row 10: Decrease 6 times [6 SC] fasten off, leaving a tail to sew head to body
Crown:
With White yarn, SC 10 into magic circle, SS to join circle
Row 1: SC, DC, SC in first SC, SS in to second SC and repeat 4 times, SS to
join circle and break off
Join
white yarn in to one of the SC of the magic circle, chain 4, SS 3 and SS into
next SC, and repeat 4 more times, SS to join circle and fasten off, leaving a
tail to sew the crown to the head
Body:
SC 5 into magic circle, SS to join
Row 1: SC in each chain (5 SC) SS to join circle
Row
2: Repeat row 1
Row
3: SC 2, Chain 9, SS 8 in chain, SC 3 in body, chain 9, SS 8 in chain, then SS
to join the circle
Row
4: SC 5, SS to join circle
Row
5: IN in each SC for 10 SC, SS to join circle
Row
6: SC 3, Chain 6, SC 5 in Chain, SC 3 in body, chain 6, SC 5 in chain, SC 4 in
body, Chain 6, SC 5 in chain, SS to join circle. Fasten off
Arm
Details:
First
Arm: Join pink yarn on 5th chain on arm with a slip stitch. SC 3
times in 6th chain, SS in 7th chain. SC, DC, SC in tip of
arm, SS in 7th SS on other side of arm, 3 SC in sixth SS, SS in 5th,
fasten off.
Take
White yarn and SS in 4th chain on arm with a SS. SC in SS, SC in the
3 SC, SS in SS, SC DC SC in the SC DC SC, SS, SC in the 3 SC, SC in SS, SS in 4th
SS, fasten off
Second Arm: Repeat! :3
Leg
Details:
Join
white yarn on body on stitch after you bound off the pink. SS in each stitch
until you reach the first leg. SS until you the tip of the leg and 3 DC in the
tip. Continue to Ss in each stitch until the next tip and DC in the tip of the
leg. SS in each stitch until the tip of the last leg, 3 DC, SS until you reach
where you joined, fasten off.
Join
White yarn on second SS up the leg. SC up until the first DC. DC, DC twice in
second DC, DC and SC in third DC, SC twice, SS, fasten off Repeat with other
two legs
 Neck Ruffle:
Chain 12
SS in 11th Chain, SC, DC x2 SC in next chain, repeat 4 more times.
Do not join.
Finishing it up:
Sew the head and the body together
Sew
the neck ruffle on to the neck, then sew the ends of the ruffle together to
avoid a gap. When I sewed the ruffle on, I used the back side since it ruffling
of the stitches created a bubble effect.
If
you would like to add a smiling face, do so with the embroidery needle and
floss.
Make sure all of your
ends are secured and woven in!
Please let me know if there are any issues with the pattern or if you have any questions!
Please do not reproduce or claim this pattern as your own. You can share if you link back to this blog. This pattern is for personal use, so please do not sell products using this pattern. I put a lot of time into making it; it's only fair if you choose to sell frillish, you create your own pattern~